Installation
Requirements
Section titled “Requirements”- JetBrains IDE: IntelliJ IDEA, WebStorm, PyCharm, PhpStorm, Android Studio, or any other JetBrains IDE
- IDE Version: 2020.1 or later (recommended: latest version)
- Java: JDK 11 or higher
Installation Methods
Section titled “Installation Methods”This is the easiest and most recommended way to install the plugin.
- Open Settings/Preferences
- In your JetBrains IDE, go to
File > Settings(Windows/Linux) orIntelliJ IDEA > Preferences(macOS) - Keyboard shortcut:
Ctrl+Alt+S(Windows/Linux) orCmd+,(macOS)
- Navigate to Plugins
- In the Settings window, click on
Pluginsin the left sidebar
- Search for the Plugin
- Click on the
Marketplacetab and search for"Atom Material Icons"or"File Icons"
- Install the Plugin
- Click the
Installbutton next to the “Atom Material Icons” plugin by Elior Boukhobza
- Restart Your IDE
- After installation, restart your IDE to activate the plugin
Download and install the plugin manually if you can’t access the marketplace.
- Download the Plugin
- Download the latest plugin ZIP file from the GitHub releases page
- Open Plugin Settings
- Go to
File > Settings > Plugins(orIntelliJ IDEA > Preferences > Pluginson macOS)
- Install from Disk
- Click the gear icon ⚙️ and select
"Install Plugin from Disk..."
- Select ZIP File
- Navigate to and select the downloaded ZIP file, then click
OK
- Restart IDE
- Restart your IDE to complete the installation
For developers who want to build the plugin from source code.
-
Clone the Repository
Terminal window git clone https://github.com/mallowigi/a-file-icon-idea.gitcd a-file-icon-idea -
Build the Plugin
Terminal window ./gradlew buildPluginThe built plugin will be located in
build/distributions/ -
Install the Built Plugin Follow the Manual Installation steps using the ZIP file from
build/distributions/
Verification
Section titled “Verification”After installation, verify that the plugin is working correctly:
- Open any project in your IDE
- Check if file icons have changed to material design icons
- Go to
Settings > Appearance & Behavior > Atom Material Icons - You should see the plugin configuration options
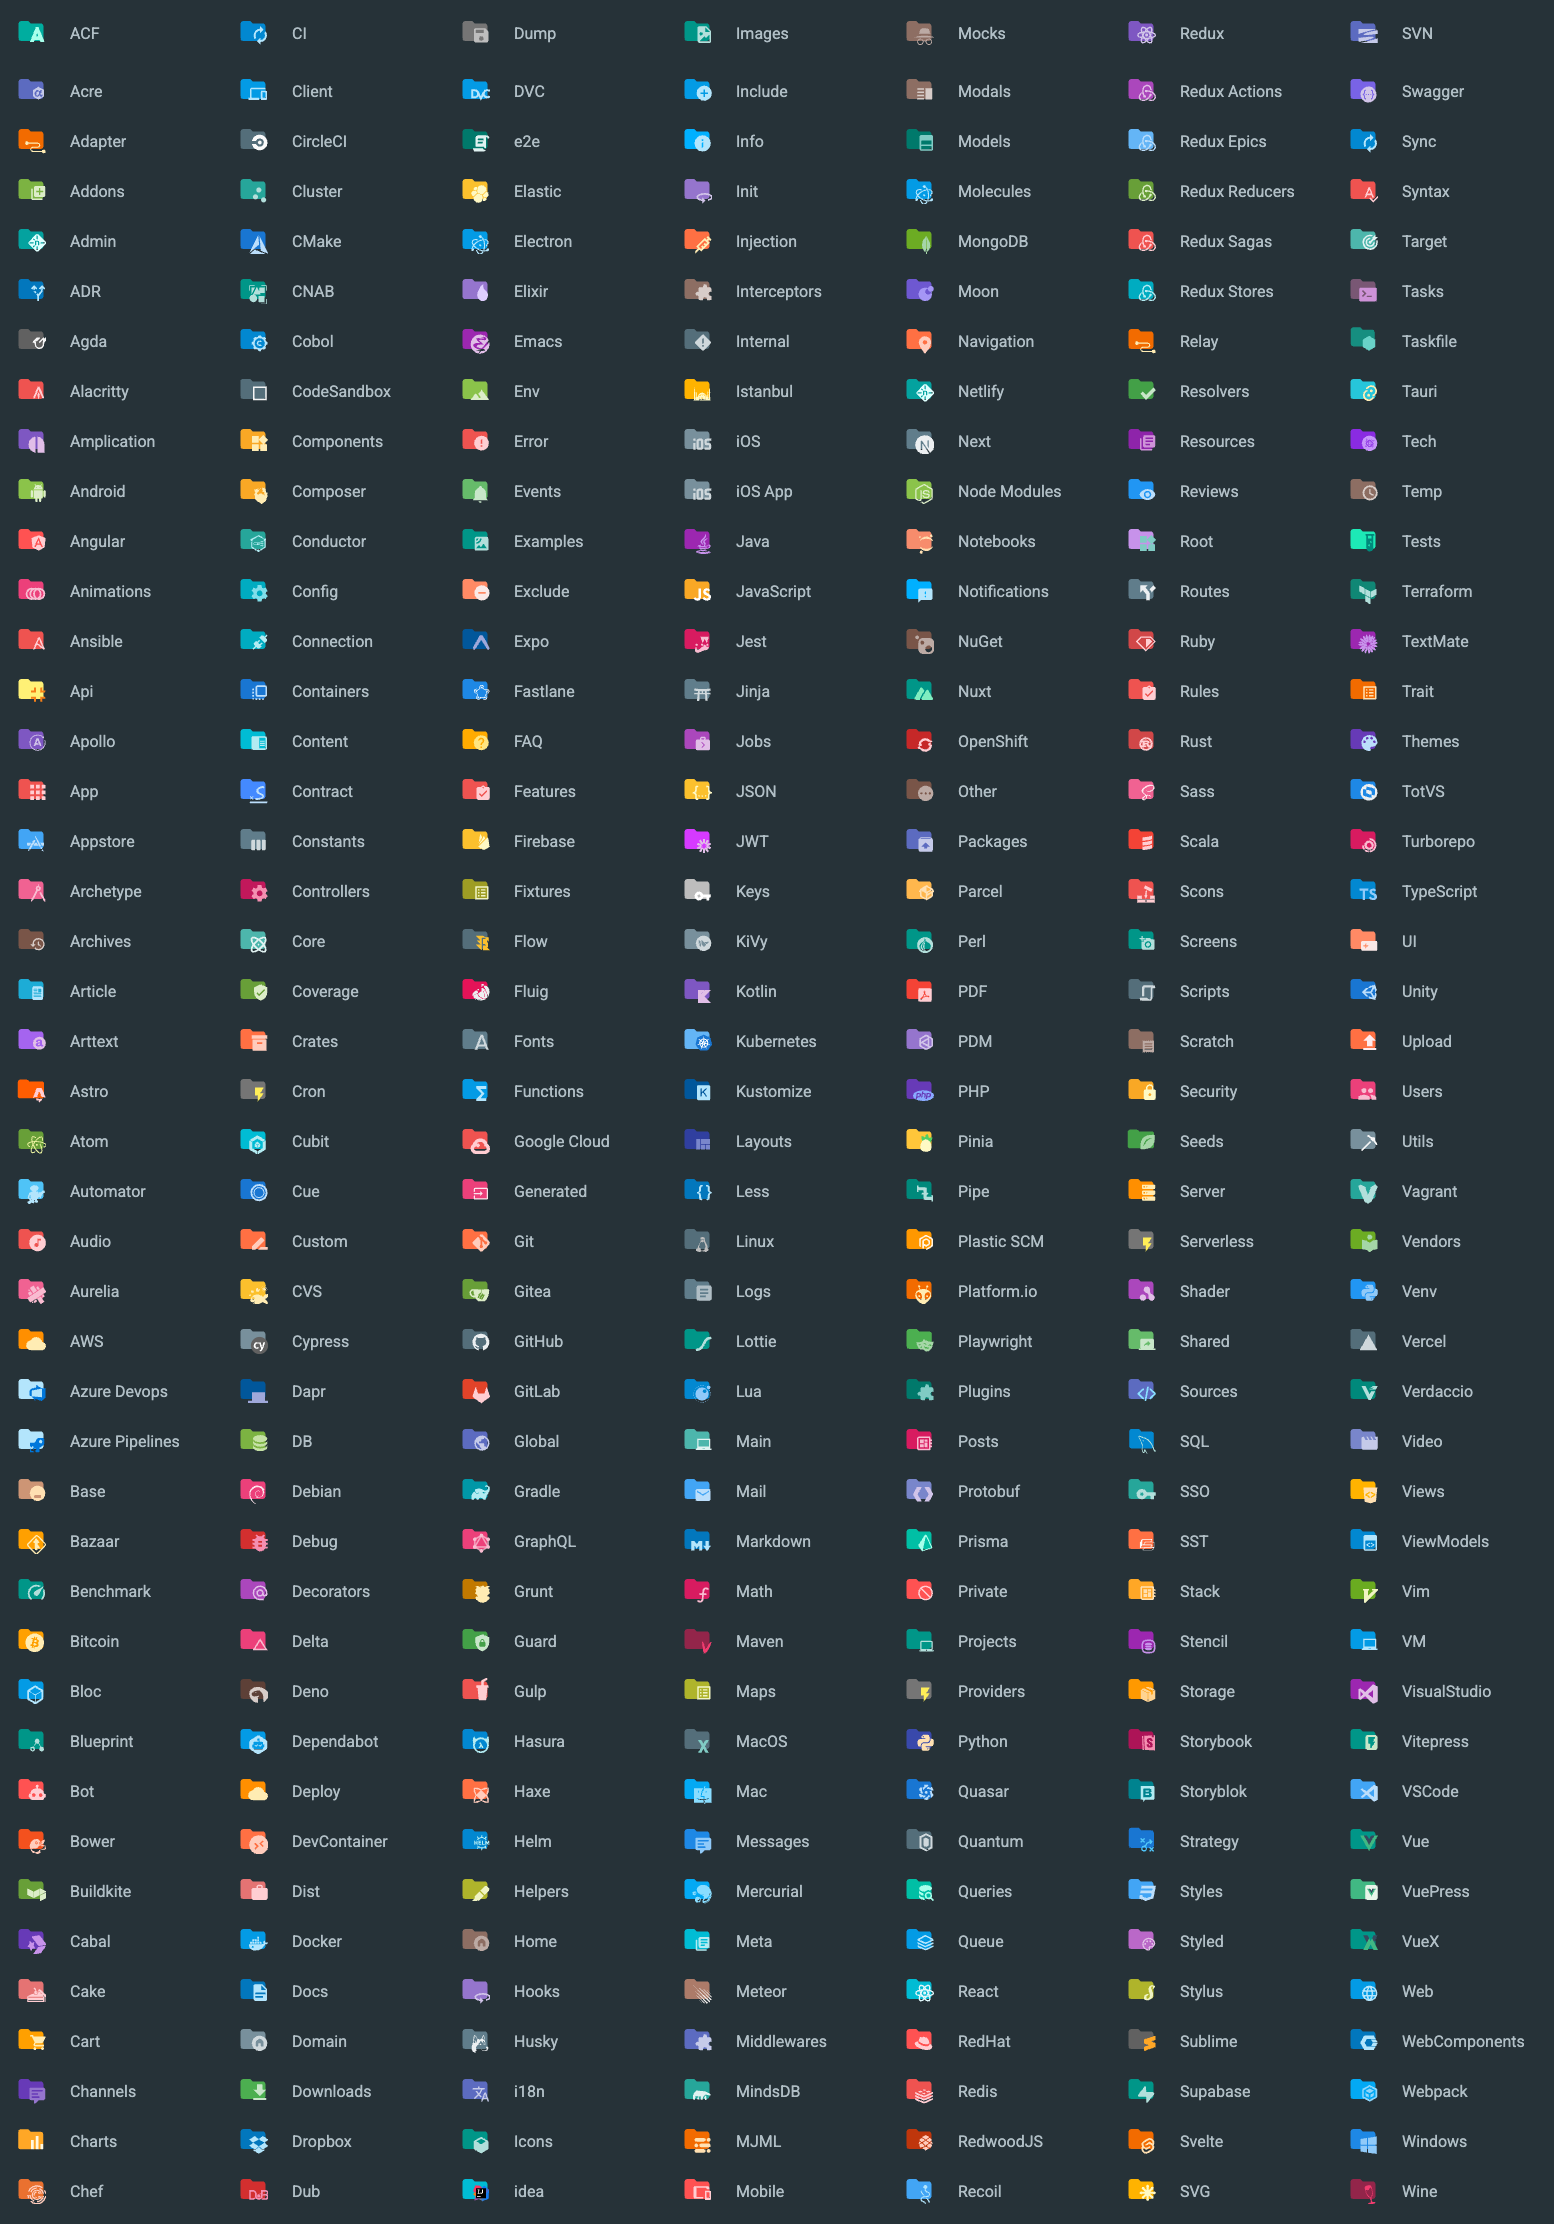
What You Should See
Section titled “What You Should See”Once the plugin is successfully installed and activated, your IDE file explorer will display beautiful material design icons:
File Icons:

Folder Icons:
Troubleshooting
Section titled “Troubleshooting”Plugin Not Showing Up
Section titled “Plugin Not Showing Up”If the plugin doesn’t appear after installation:
- Make sure you restarted the IDE completely
- Check if your IDE version is supported (2020.1+)
- Verify the plugin is enabled in
Settings > Plugins
Icons Not Changing
Section titled “Icons Not Changing”If icons remain unchanged:
- Go to
Settings > Atom Material Iconsand enable the plugin - Try toggling the “File Icons” option off and on
- Restart the IDE after making changes
Performance Issues
Section titled “Performance Issues”If you experience performance issues:
- Reduce the icon size in settings
- Disable unused features like “Hollow Folders” or “Monochrome Filter”
- Consider using the minimal icon set
What’s Next?
Section titled “What’s Next?”Now that you have the plugin installed, learn how to use and customize it:
- Basic Usage - Learn the fundamentals
- Configuration - Customize the plugin
- Features - Explore all features